HomeNavigation arrowBlogNavigation arrow
Current page
NowCandid 101

How to Make FreePics Work for Your Photography Business 📸✨

How to Make FreePics Work for Your Photography Business 📸✨
In honor of our QuicPics Program’s rebrand to FreePics, we wanted to take a fresh look at some helpful info, best practices, and booking strategies for using FreePics and service photography successfully!

Giving photos away for free might not sound like an obvious way to make money.

But with the right setup, FreePics can be a powerful business tool — whether you’re getting paid by an event organizer, working with a sponsor, building the cost into ticket sales, developing relationships with venues, or simply using free photos to get your name in front of more potential customers.

And depending on the kind of experience you want to offer, you now have three different Programs to choose from: FreePics, FreePics GO!, and FreePortraits.

First: What Is FreePics?

FreePics is designed for photographers who want to provide images to subjects at no cost to the person being photographed.

Instead of relying on each participant to purchase their own images, the photography can be funded another way — or used as a marketing tool to help generate future business.

That opens up a lot of possibilities.

Ways to “Sell” FreePics 💸

1. Work Through an Event Organizer

One of the simplest approaches is to have the event organizer pay for photography as part of the event itself.

That could include:

  • Reunions
  • Luncheons
  • Galas
  • Corporate parties
  • Balls
  • Private events
  • Community events

Instead of charging individual guests for their photos, the organizer pays you for your time and coverage.

This can make the photography feel like another included event amenity — just like entertainment, décor, or catering.

The original FreePics training material even suggested photographers may be able to charge a few hundred dollars per hour, per photographer, depending on the event and market.

2. Find an Event Sponsor

Another option is to have a sponsor cover the photography.

In exchange, you can incorporate the sponsor’s branding into the experience, including branded image artwork or overlays.

That gives the sponsor something more memorable than a banner or table sign: photos attendees may actually save, share, and revisit.

Sponsorship pricing will naturally depend on the event, audience, and sponsor, but this type of arrangement may support a much higher overall photography budget than selling directly to individual attendees.

3. Build Photography Into Ticket Sales 🎟️

If every attendee is going to receive photos, another option is to simply include the photography cost in the ticket price.

A relatively small increase per ticket can add up quickly across a large event.

For example, an organizer could add a photography fee to each admission ticket, then use that revenue to pay for event coverage while letting every guest access their photos afterward.

Participants feel like they’re getting something included with admission, while the photographer still gets paid.

4. Partner With Party Planners or Venues 🤝

FreePics can also be a great tool for building recurring relationships.

A photographer can establish themselves as the go-to photographer for a planner or venue and create an arrangement that works for everyone involved.

That could mean a commission, referral agreement, preferred-vendor relationship, or another setup that encourages the planner or venue to continue sending events your way.

Instead of thinking about a single event, you’re using FreePics to help build a steady pipeline of future bookings.

5. Use FreePics as Marketing for Your Own Business 📣

You don’t necessarily have to make money directly from every FreePics Event.

Sometimes, the value is the exposure.

Offering free photography at the right event can introduce your business to dozens or even hundreds of potential customers.

Because participants receive their images directly, you have an opportunity to put your business and branding in front of them while creating a positive interaction with your photography.

That can turn one promotional event into future:

  • Event bookings
  • Portrait sessions
  • School or sports opportunities
  • Corporate work
  • Referrals
  • Repeat customers

Sometimes the free photo is the product.

Sometimes it’s the advertisement. 👀

Which Free Program Should You Use?

This is where the three Programs start to differ.

FreePics — Best for Most Events ⭐

For most photographers, FreePics is the best all-around option.

It provides the full FreePics experience and gives you the most flexibility in how images are delivered to participants.

If you simply want to photograph an event and make it easy for subjects to receive their images for free, start here.

It costs more per image than the other Free Programs, but you’re paying for the broader experience and flexibility.

Best for:

  • Parties
  • Galas
  • Corporate events
  • Reunions
  • Sponsored events
  • General event photography
  • Most situations where you want free image delivery

FreePics GO! — Best for a Gallery-First Experience 🖼️

FreePics GO! is a gallery-only experience, which allows it to cost less per image than standard FreePics.

But the gallery format also gives it some unique advantages.

FreePics GO! is especially useful if you want participants to clearly see that they can download different versions of their images — such as versions without overlay artwork.

It can also be a better choice when using Background Removal, because participants can browse different background options before deciding which version of an image they want to download.

And because subjects are already browsing through a gallery, FreePics GO! gives you a stronger opportunity to showcase physical products and other potential upsells alongside their free images.

Best for:

  • No-overlay option is important
  • Sponsored events with branded artwork
  • Background Removal workflows
  • Events where you want subjects choosing between different image treatments
  • Photographers who want to promote prints or physical products
  • Situations where keeping per-image costs lower is important

FreePortraits — Best for Headshots 👤

FreePortraits takes the FreePics concept and adapts it specifically for headshot-style photography.

Because the workflow is more limited — with only one image file sent out per image — it can be offered at a lower per-image cost than standard FreePics.

If your Event is centered around individual portraits rather than a larger event gallery, that limitation can actually make perfect sense.

Best for:

  • Corporate headshots
  • Conferences
  • Professional networking events
  • Employee portraits
  • Profile photos
  • Other single-image portrait workflows

If you want the FreePics experience but you’re really photographing headshots, FreePortraits is likely the better fit.

A Simple Way to Choose 🍬

When in doubt:

Use FreePics for the best general-purpose experience.

Choose FreePics GO! when the gallery itself adds value — especially for Background Removal choices and physical-product upsells.

Choose FreePortraits when you’re photographing headshots and only need to deliver one finished image file per image.

The goal with all three is the same: make it easy to get great images into your subjects’ hands while giving you flexibility in how the photography fits into your business.

Free Doesn’t Have to Mean Unprofitable 🚀

FreePics is less about giving your work away and more about deciding who is paying for the experience — and what value the photography creates.

Maybe the event organizer pays you.

Maybe a sponsor does.

Maybe the cost is included in admission.

Maybe a venue relationship brings you more bookings.

Or maybe the Event itself acts as marketing that introduces your photography business to a whole new group of people.

There are plenty of ways to make free photos make business sense.

And with FreePics, FreePics GO!, and FreePortraits, you can choose the version that fits the Event instead of forcing every job into the same workflow. 📸✨

Cheers,

— Candy 🍬

Related articles

A Sweeter Capture Experience: Apple iOS Capture App Version 1.0.5🍭
Feature Updates
October 12, 2023

A Sweeter Capture Experience: Apple iOS Capture App Version 1.0.5🍭

7
 minutes read
Hey NowCandid users! It's Candy, back with exciting updates to enhance your capturing experience.

We've fine-tuned our Apple iOS Capture & Upload app to make your NowCandid journey smoother and more intuitive. Here's what's new:

Always Connected, Always Ready📶

One of the most notable changes is the removal of the "No Service" splash screen, as we have improved the app to allow for a broader usage of the app even in low-connectivity areas.

However! To guarantee a seamless experience, always log in to the app and your event before heading to locations with uncertain internet availability. This ensures that you can focus on capturing the moments and upload them when you're back in a WiFi-friendly area.

Image Management Made Easy📸

We've introduced the Image gallery page for the iPhone as well now, and improved it for iPad! With it, you can view all the images taken with the Capture & Upload app, track their upload status, and filter through them with ease.

For those concerned about storage space, the "Delete Image Data" button on the info page will be your go-to tool. Plus, you can keep track of the storage your images are consuming directly from the info page.

A More Responsive Experience⚙️

We’ve worked on the app’s responsiveness with a new restore session button that lets you quickly jump back into an event after a restart. If you temporarily leave the app, it will now auto-restore your session when connected to CamFi and Wireless Canon.

Oh yea, did we mention we work with CamFi now as well? + Click here to learn more! +

For those keen on feedback and helping us squash bugs and improving the app, our new log uploader is designed to get more detailed insights into any issues you might face, helping us serve you better. Access it from the Info page on the app!

Enhancements & Fixes✨

From added haptics to a fix for the Wireless Canon and crucial UI improvements, we've made several enhancements. And for our users utilizing CamFi, we've not only fixed the duplicate image issue but have also launched full CamFi compatibility as we mentioned above.

Quick Overview of Updates📋

  • Added CamFi compatability.
  • "No Service" splash screen removed alongside new enhanced offline use.
  • Revamped Image gallery: view, filter, and manage photos.
  • Quick event access with restore session features.
  • Enhanced bug reporting via the new log uploader.
  • Full CamFi compatibility and duplicate image issue resolved.
  • UI improvements, haptic feedback additions, and more!

That wraps up our latest updates!

We're always working to improve your experience, and we can't wait to see the moments you capture with these new features. Until next time!

Best,

Candy

Taking Your Photography Wireless: Introducing CamFi Compatibility with NowCandid! 📸
Feature Updates
October 11, 2023

Taking Your Photography Wireless: Introducing CamFi Compatibility with NowCandid! 📸

5
 minutes read
Hello, photographers!

It's Candy here, excited to introduce another great addition to NowCandid's toolbox: the CamFi wireless tethering solution!

Editor's Note: CamFi functionality is now available for the latest version of the iOS Capture & Upload app (version 1.0.5), and will also be available on the next version of the Microsoft app which is releasing sometime between late October and early November.

Why Go Wireless with CamFi? 🌐

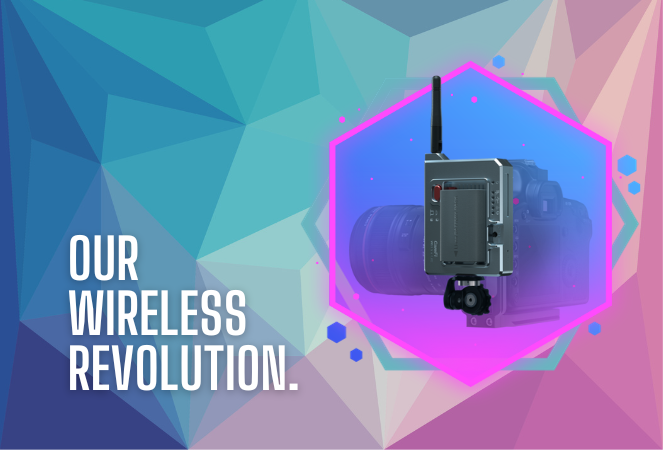
For photographers on the move, CamFi is a game-changer. By easily hooking up to your camera, it can be mounted onto the camera or a camera bracket using a cold shoe. Then, it connects to an LTE device via the device's WiFi connection. This means no more being tied down (literally) by cables. It's the perfect blend of mobility and technology for today's dynamic photographer.

Set-Up Made Simple 🛠️

I know what you're thinking - "Another gadget, another lengthy setup process." But with CamFi, it's different. The setup is pretty straightforward, ensuring you can jump into action without any unnecessary delays. For a step-by-step guide, be sure to check out our detailed setup guide.

+ Click here to view the CamFi setup guide +

Increased Mobility & Flexibility 🕺💃

Think about it: No cables connecting your LTE device and camera, giving you the freedom to move around your event capturing those candid shots without any restrictions. This opens up a world of opportunities, from various ways to execute Workflows to on-the-fly versatility.

Stellar Wireless Tether Range 📡

The wireless range on the CamFi is impressive. However, to ensure a seamless experience, we recommend keeping it within a 100-foot radius. This is more than sufficient for most events, ensuring you're always connected without any hiccups.

Full Compatibility with NowCandid Workflows 👩‍💼

Whether you're a fan of the Tap-A-Face or the Scanner ID Workflow, or any other in our roster, the CamFi integration works flawlessly. It feels like they were made for each other!

Important Note 🚫

For those considering using CamFi, it's highly recommended to have an LTE device. Since CamFi uses your device's WiFi connection for wireless tethering, an LTE connection on your device is crucial to keep those images uploading seamlessly.

To sum up:

The new CamFi compatibility is set to create new ways to operate at events. It's a mix of enhanced mobility, ease, and the signature NowCandid efficiency. So, here's to capturing memories wirelessly! 🥂📷

Till next time, happy shooting!

  • Candy 🍬

Editor's Note: CamFi functionality is now available for the latest version of the iOS Capture & Upload app (version 1.0.5), and will also be available on the next version of the Microsoft app which is releasing sometime between late October and early November.

FaceMatch Import Workflow: Improved & Released!🚀
Feature Updates
October 10, 2023

FaceMatch Import Workflow: Improved & Released!🚀

4
 minutes read
Hello photographers! Candy here, with some more news from NowCandid's tech-desk.

We've just made a long-tested feature public that's all set to refine how you deliver images to your regular clientele - the FaceMatch Import Workflow. Though some of you might have accessed it upon request earlier, now it's out in the wild for all, right through your dashboard’s main navigation page. Exciting, right?

Creating a FaceGroup: Your Step to Simplified Photography 📸

Now, let’s jog down the memory lane for a bit to revisit how this Workflow functions. To kick things off, you’ll be creating what we call a 'FaceGroup'. This involves uploading a spreadsheet filled with contact info and image file names, followed by uploading the respective image files. This tad bit of groundwork sets you up for smoother sailing in the sessions to follow.

Exporting to Any Face Matching NowCandid Event: A Click Away! ⚡

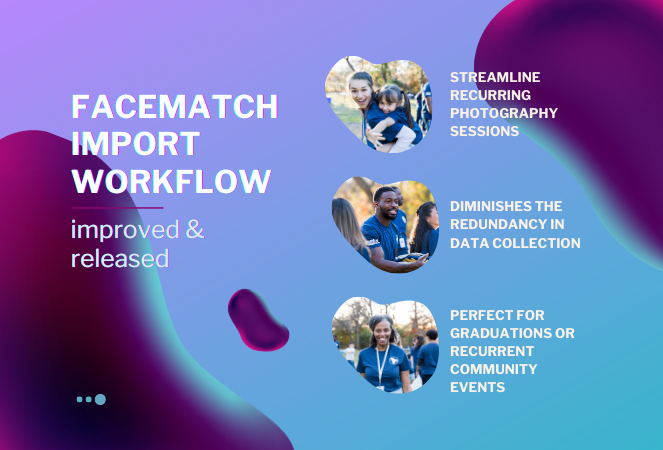
With a FaceGroup in place, exporting the reference images into any Face Matching NowCandid Event is a breeze. Hence the name, FaceMatch Import Workflow. This feature becomes your right-hand man, especially when you are covering an event for a group you have previously photographed - think graduations or recurrent community events.

Upcoming Features:

Your Feedback in Action! 🛠️We're not stopping here! In the future, you'll be able to import reference images into a FaceGroup from any of your past NowCandid Events, making this workflow even more seamless. Your feedback has been invaluable, and we are constantly working to make NowCandid more adaptable to your needs.

Legality and Consent: Better Safe than Sorry! 🔒

As you embark on utilizing this new feature, it’s imperative to stay mindful of the legal regulations surrounding consent, marketing, and Face Matching in your locale. Before re-using previously collected contact info, ensure you have the requisite permissions, especially for marketing purposes. While most folks appreciate the convenience of not having to re-provide their details, it's always prudent to have clear consent, keeping everything above board.

Closing Thoughts:

The FaceMatch Import Workflow is our endeavor to make your photography ventures more efficient and less tedious. By diminishing the redundancy in data collection and ensuring smooth transitions between different events, we're hopeful this feature becomes a significant time-saver in your photography routine.

So give it a try!

Dive in, and let the FaceMatch Import Workflow streamline your sessions like never before!

Until next time,

  • Candy

Let’s get in touch

If you’re a photographer looking to add NowCandid™ services to your wheelhouse, set up a call with us!

How to customize formatting for each rich text

How to customize formatting for each rich text

How to customize formatting for each rich text

How to customize formatting for each rich text

How to customize formatting for each rich text

What’s a Rich Text element?

The rich text element allows you to create and format headings, paragraphs, blockquotes, images, and video all in one place instead of having to add and format them individually. Just double-click and easily create content.

A rich text element can be used with static or dynamic content. For static content, just drop it into any page and begin editing. For dynamic content, add a rich text field to any collection and then connect a rich text element to that field in the settings panel. Voila!

Headings, paragraphs, blockquotes, figures, images, and figure captions can all be styled after a class is added to the rich text element using the "When inside of" nested selector system.

  • List One
  • List Two
  • List Three
  • List Four
  • List Five

This is a link

This is bold text