HomeNavigation arrowBlogNavigation arrow
Current page
NowCandid 101

How to Make FreePics Work for Your Photography Business 📸✨

How to Make FreePics Work for Your Photography Business 📸✨
In honor of our QuicPics Program’s rebrand to FreePics, we wanted to take a fresh look at some helpful info, best practices, and booking strategies for using FreePics and service photography successfully!

Giving photos away for free might not sound like an obvious way to make money.

But with the right setup, FreePics can be a powerful business tool — whether you’re getting paid by an event organizer, working with a sponsor, building the cost into ticket sales, developing relationships with venues, or simply using free photos to get your name in front of more potential customers.

And depending on the kind of experience you want to offer, you now have three different Programs to choose from: FreePics, FreePics GO!, and FreePortraits.

First: What Is FreePics?

FreePics is designed for photographers who want to provide images to subjects at no cost to the person being photographed.

Instead of relying on each participant to purchase their own images, the photography can be funded another way — or used as a marketing tool to help generate future business.

That opens up a lot of possibilities.

Ways to “Sell” FreePics 💸

1. Work Through an Event Organizer

One of the simplest approaches is to have the event organizer pay for photography as part of the event itself.

That could include:

  • Reunions
  • Luncheons
  • Galas
  • Corporate parties
  • Balls
  • Private events
  • Community events

Instead of charging individual guests for their photos, the organizer pays you for your time and coverage.

This can make the photography feel like another included event amenity — just like entertainment, décor, or catering.

The original FreePics training material even suggested photographers may be able to charge a few hundred dollars per hour, per photographer, depending on the event and market.

2. Find an Event Sponsor

Another option is to have a sponsor cover the photography.

In exchange, you can incorporate the sponsor’s branding into the experience, including branded image artwork or overlays.

That gives the sponsor something more memorable than a banner or table sign: photos attendees may actually save, share, and revisit.

Sponsorship pricing will naturally depend on the event, audience, and sponsor, but this type of arrangement may support a much higher overall photography budget than selling directly to individual attendees.

3. Build Photography Into Ticket Sales 🎟️

If every attendee is going to receive photos, another option is to simply include the photography cost in the ticket price.

A relatively small increase per ticket can add up quickly across a large event.

For example, an organizer could add a photography fee to each admission ticket, then use that revenue to pay for event coverage while letting every guest access their photos afterward.

Participants feel like they’re getting something included with admission, while the photographer still gets paid.

4. Partner With Party Planners or Venues 🤝

FreePics can also be a great tool for building recurring relationships.

A photographer can establish themselves as the go-to photographer for a planner or venue and create an arrangement that works for everyone involved.

That could mean a commission, referral agreement, preferred-vendor relationship, or another setup that encourages the planner or venue to continue sending events your way.

Instead of thinking about a single event, you’re using FreePics to help build a steady pipeline of future bookings.

5. Use FreePics as Marketing for Your Own Business 📣

You don’t necessarily have to make money directly from every FreePics Event.

Sometimes, the value is the exposure.

Offering free photography at the right event can introduce your business to dozens or even hundreds of potential customers.

Because participants receive their images directly, you have an opportunity to put your business and branding in front of them while creating a positive interaction with your photography.

That can turn one promotional event into future:

  • Event bookings
  • Portrait sessions
  • School or sports opportunities
  • Corporate work
  • Referrals
  • Repeat customers

Sometimes the free photo is the product.

Sometimes it’s the advertisement. 👀

Which Free Program Should You Use?

This is where the three Programs start to differ.

FreePics — Best for Most Events ⭐

For most photographers, FreePics is the best all-around option.

It provides the full FreePics experience and gives you the most flexibility in how images are delivered to participants.

If you simply want to photograph an event and make it easy for subjects to receive their images for free, start here.

It costs more per image than the other Free Programs, but you’re paying for the broader experience and flexibility.

Best for:

  • Parties
  • Galas
  • Corporate events
  • Reunions
  • Sponsored events
  • General event photography
  • Most situations where you want free image delivery

FreePics GO! — Best for a Gallery-First Experience 🖼️

FreePics GO! is a gallery-only experience, which allows it to cost less per image than standard FreePics.

But the gallery format also gives it some unique advantages.

FreePics GO! is especially useful if you want participants to clearly see that they can download different versions of their images — such as versions without overlay artwork.

It can also be a better choice when using Background Removal, because participants can browse different background options before deciding which version of an image they want to download.

And because subjects are already browsing through a gallery, FreePics GO! gives you a stronger opportunity to showcase physical products and other potential upsells alongside their free images.

Best for:

  • No-overlay option is important
  • Sponsored events with branded artwork
  • Background Removal workflows
  • Events where you want subjects choosing between different image treatments
  • Photographers who want to promote prints or physical products
  • Situations where keeping per-image costs lower is important

FreePortraits — Best for Headshots 👤

FreePortraits takes the FreePics concept and adapts it specifically for headshot-style photography.

Because the workflow is more limited — with only one image file sent out per image — it can be offered at a lower per-image cost than standard FreePics.

If your Event is centered around individual portraits rather than a larger event gallery, that limitation can actually make perfect sense.

Best for:

  • Corporate headshots
  • Conferences
  • Professional networking events
  • Employee portraits
  • Profile photos
  • Other single-image portrait workflows

If you want the FreePics experience but you’re really photographing headshots, FreePortraits is likely the better fit.

A Simple Way to Choose 🍬

When in doubt:

Use FreePics for the best general-purpose experience.

Choose FreePics GO! when the gallery itself adds value — especially for Background Removal choices and physical-product upsells.

Choose FreePortraits when you’re photographing headshots and only need to deliver one finished image file per image.

The goal with all three is the same: make it easy to get great images into your subjects’ hands while giving you flexibility in how the photography fits into your business.

Free Doesn’t Have to Mean Unprofitable 🚀

FreePics is less about giving your work away and more about deciding who is paying for the experience — and what value the photography creates.

Maybe the event organizer pays you.

Maybe a sponsor does.

Maybe the cost is included in admission.

Maybe a venue relationship brings you more bookings.

Or maybe the Event itself acts as marketing that introduces your photography business to a whole new group of people.

There are plenty of ways to make free photos make business sense.

And with FreePics, FreePics GO!, and FreePortraits, you can choose the version that fits the Event instead of forcing every job into the same workflow. 📸✨

Cheers,

— Candy 🍬
Related articles

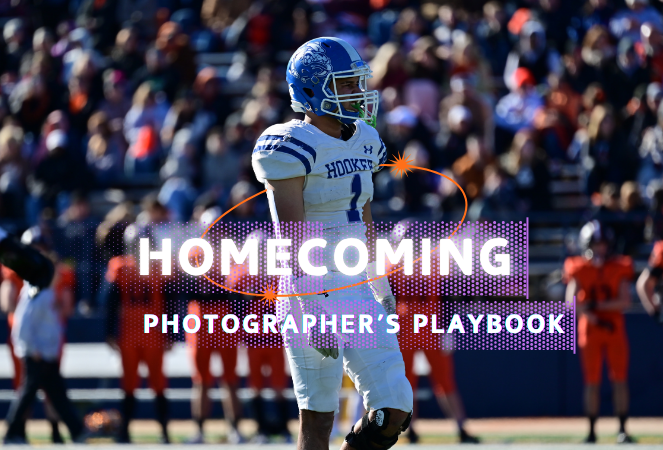
Photographing Homecoming Weekend with NowCandid: A Photographer's Playbook
Photography Tips
August 12, 2025

Photographing Homecoming Weekend with NowCandid: A Photographer's Playbook

8
 minutes read
High school homecoming weekend is packed with photo-worthy moments

From the parade and pep rally to the big game, homecoming court, and the dance. For photographers, it’s a whirlwind. But with NowCandid™, even a small team can cover it all efficiently and profitably.

Below is a quick look at each event, the opportunities it presents, and the NowCandid tools that help you make the most of them.

__wf_reserved_inherit

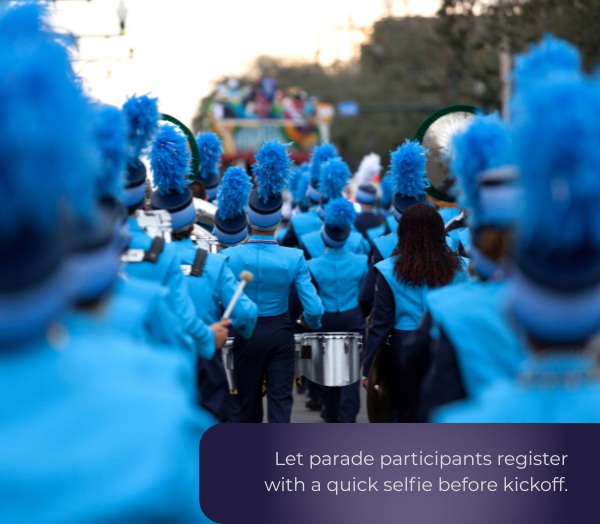
🎉 Homecoming Parade – Kicking Off the Celebration

  • • Selfie Check-In™: Let parade participants register with a quick selfie before kickoff. Face Matching will tag them automatically later.
  • • Roam & Shoot: Focus on faces & emotional moments, not journalistic shots. The system will do the rest!
  • • PartyPics™: Upload images in real-time for attendees, parents and students to view instantly.

    💡 Every identified face is a potential sale. Automation ensures you don’t miss anyone.

__wf_reserved_inherit

📣 Pep Rally – Spirit & Smiles

  • • Selfie Check-In™: Continue building your attendee database for the weekend.
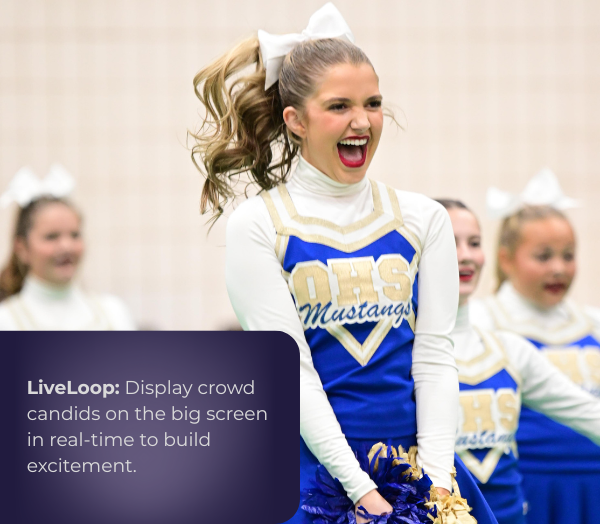
  • • LiveLoop™: Display photos on the big screen in real-time to build excitement.

    💡 More personalized photos = more likely purchases.

🏈 Football Game – Under the Lights

  • • Face Matching™: Match images to fans, players, and band members automatically.
  • • JerseyJotter™: You can even let fans filter photos by jersey number for easy finds.
  • • Live-Upload: Deliver shots before halftime!
  • • LiveLoop™: Show photos on the big screen during breaks for instant crowd buzz.

    💡 Thousands of game photos become searchable and personal, boosting sales.

__wf_reserved_inherit

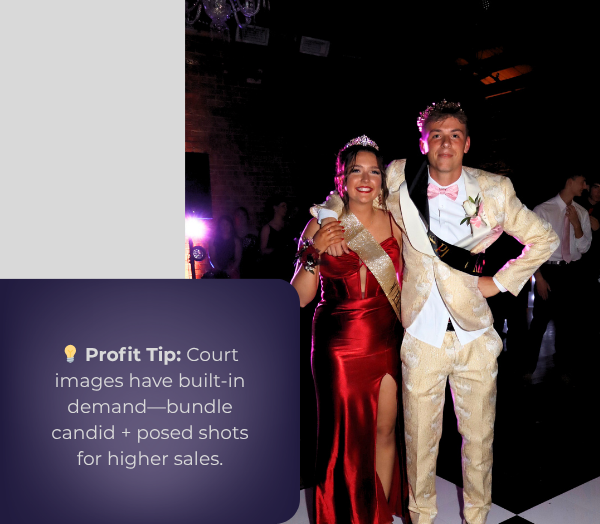
👑 Homecoming Court – Crowning Moments

  • • Prepare: Add nominees to Face Matching™ ahead of time with Selfie Check-In™!
  • • Background Removal: Instantly turn sideline shots into elegant portraits.
  • • Live-Upload: Provide those crowning shots well before the night’s over.

    💡Court images have built-in demand, your social pics will encourage bigger package sales!

💃 The Dance – A Night to Remember

  • • Selfie Check-In™ at the Door: The best time to get Check-Ins!

    • Even if someone checks-in again, that's no problem! Get everyone to do it as they funnel into the dance.
  • • Digital Backgrounds: Offer multiple themed or elegant options for portraits, our real-time background removal makes it easy.
  • • Photo Booth + LiveLoop™: Between NowCandid's Photo Booth Mode & LiveLoop™, you have multiple upsell options that create more photos and more positive energy!

    💡 Multiple background choices can lead to one image being purchased multiple times!

__wf_reserved_inherit

🚀 Why It Works

NowCandid™ turns homecoming into a personalized, real-time, high-volume photography experience—without extra staff.

  • • Efficiency: Automation handles matching, sorting, and delivery.
  • • Delight: Participants see their photos fast and without searching.
  • • Profitability: More sellable images, quicker turnaround, and premium offerings = better margins.

A typical homecoming weekend is jam-packed with memories in the making.

For a photographer, it used to mean juggling notebooks of names, printing hundreds of proofs, or spending days in post-event labor. Now, with tools from NowCandid™, a single photographer (even operating solo) can confidently cover the parade, pep rally, game, court, and dance – and do it in a way that’s both fun for students and profitable for the business.

By using features such as Selfie Check-In™ and Face Matching™ to ensure everyone’s identified, FreePics™ and LiveLoop™ to deliver excitement in real time, and Photo Booth and AI-powered backgrounds to offer creative products, you transform the event photography workflow from chaotic and labor-intensive to smooth, high-tech, and engaging.

In short, NowCandid’s software and workflows allow you to capture the full spirit of homecoming

Every candid laugh, every triumphant cheer, every dance floor twirl – and get those images into the hands of the people who will cherish them, almost as fast as the memories are made.

This means happier clients, more sales, and a homecoming weekend where the photographer can enjoy the process as much as everyone else enjoys the photos.

Here’s to using technology to work smarter, wow your customers, and make homecoming (and many more events to come) a win-win for everyone involved!
Weekly Recap: Tap-A-Face from the Dashboard & Smarter Roster Contacts 👤✨
Feature Updates
August 8, 2025

Weekly Recap: Tap-A-Face from the Dashboard & Smarter Roster Contacts 👤✨

3
 minutes read
Hey there, photo friends!

This week’s updates are small but mighty—because behind the scenes we’re cooking up some bigger projects that we can’t wait to share with you soon.

For now, here’s what’s fresh in your NowCandid™ Dashboard:

👆 Tap-A-Face… from the Web Dashboard!

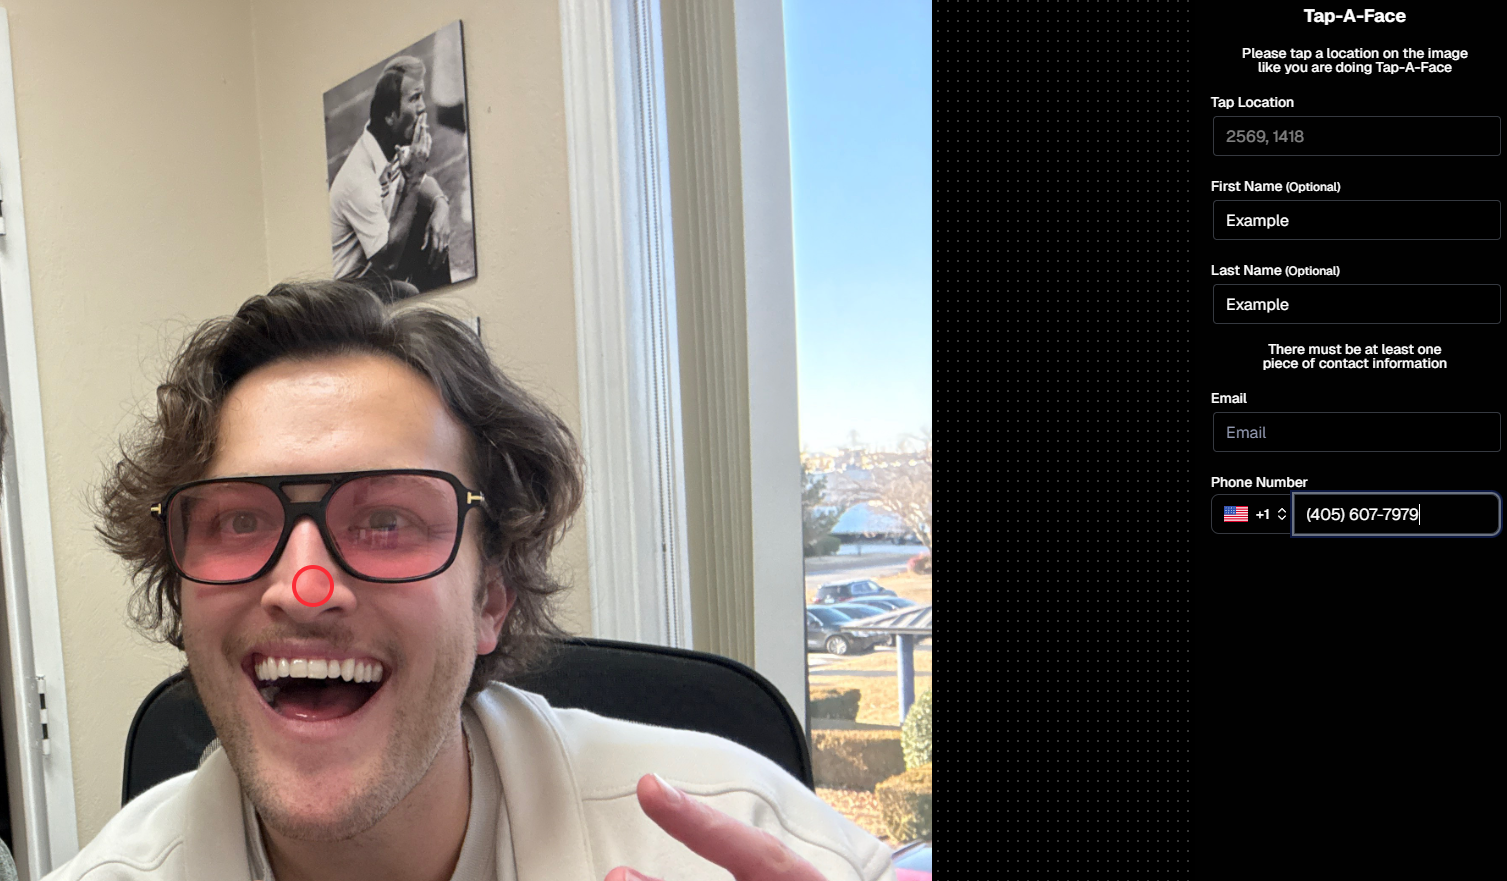
You’ve always loved Tap-A-Face in the field—now you can do it right from your Dashboard.

From any image’s Image Details Page, head to the Participants tab and click the new Add via Tap-A-Face button. From there:

  1. Click a spot on the image where a face is
  2. Enter the contact info for the person

This will instantly create a new Participant in your Event, kick off Face Matching™, and start marketing their gallery right away. 📸💌

Manage Images -> Details, Logs, and More-> Participants -> Add via Tap-A-Face

📇 Roster Contacts, Upgraded

Contacts you add through Rosters are now much easier to work with! They’ll behave just like your regular Contacts & Participants—meaning:

  • They’re fully editable
  • They can be assigned multiple images without the previous first-image requirement

No more clunky workarounds—just smoother, faster contact management. 🙌

This change will also improve adding Contacts via the "Create Participant" button, as well as Contacts who add themselves to the Event via a Positive ID Event's Simple Check-In.

These kinds of Contacts will just show a silhouette for now, which we may adjust down the line!

That’s it for this week!

Stay tuned—because some very cool things are coming your way soon. 👀✨

Keep being amazing,

Candy 🍬

Weekly Recap: PhotoCoach Support, Acrylic Puzzles & More! 🧠🧩
Feature Updates
August 1, 2025

Weekly Recap: PhotoCoach Support, Acrylic Puzzles & More! 🧠🧩

4
 minutes read
Hey there, photo friends!

Candy here with some sweet new updates from your NowCandid™ Dashboard.

We've got a powerful new coaching tool, a fun new product to sell, and a bunch of workflow-boosting fixes to round it out.

Let’s dive in! ✨

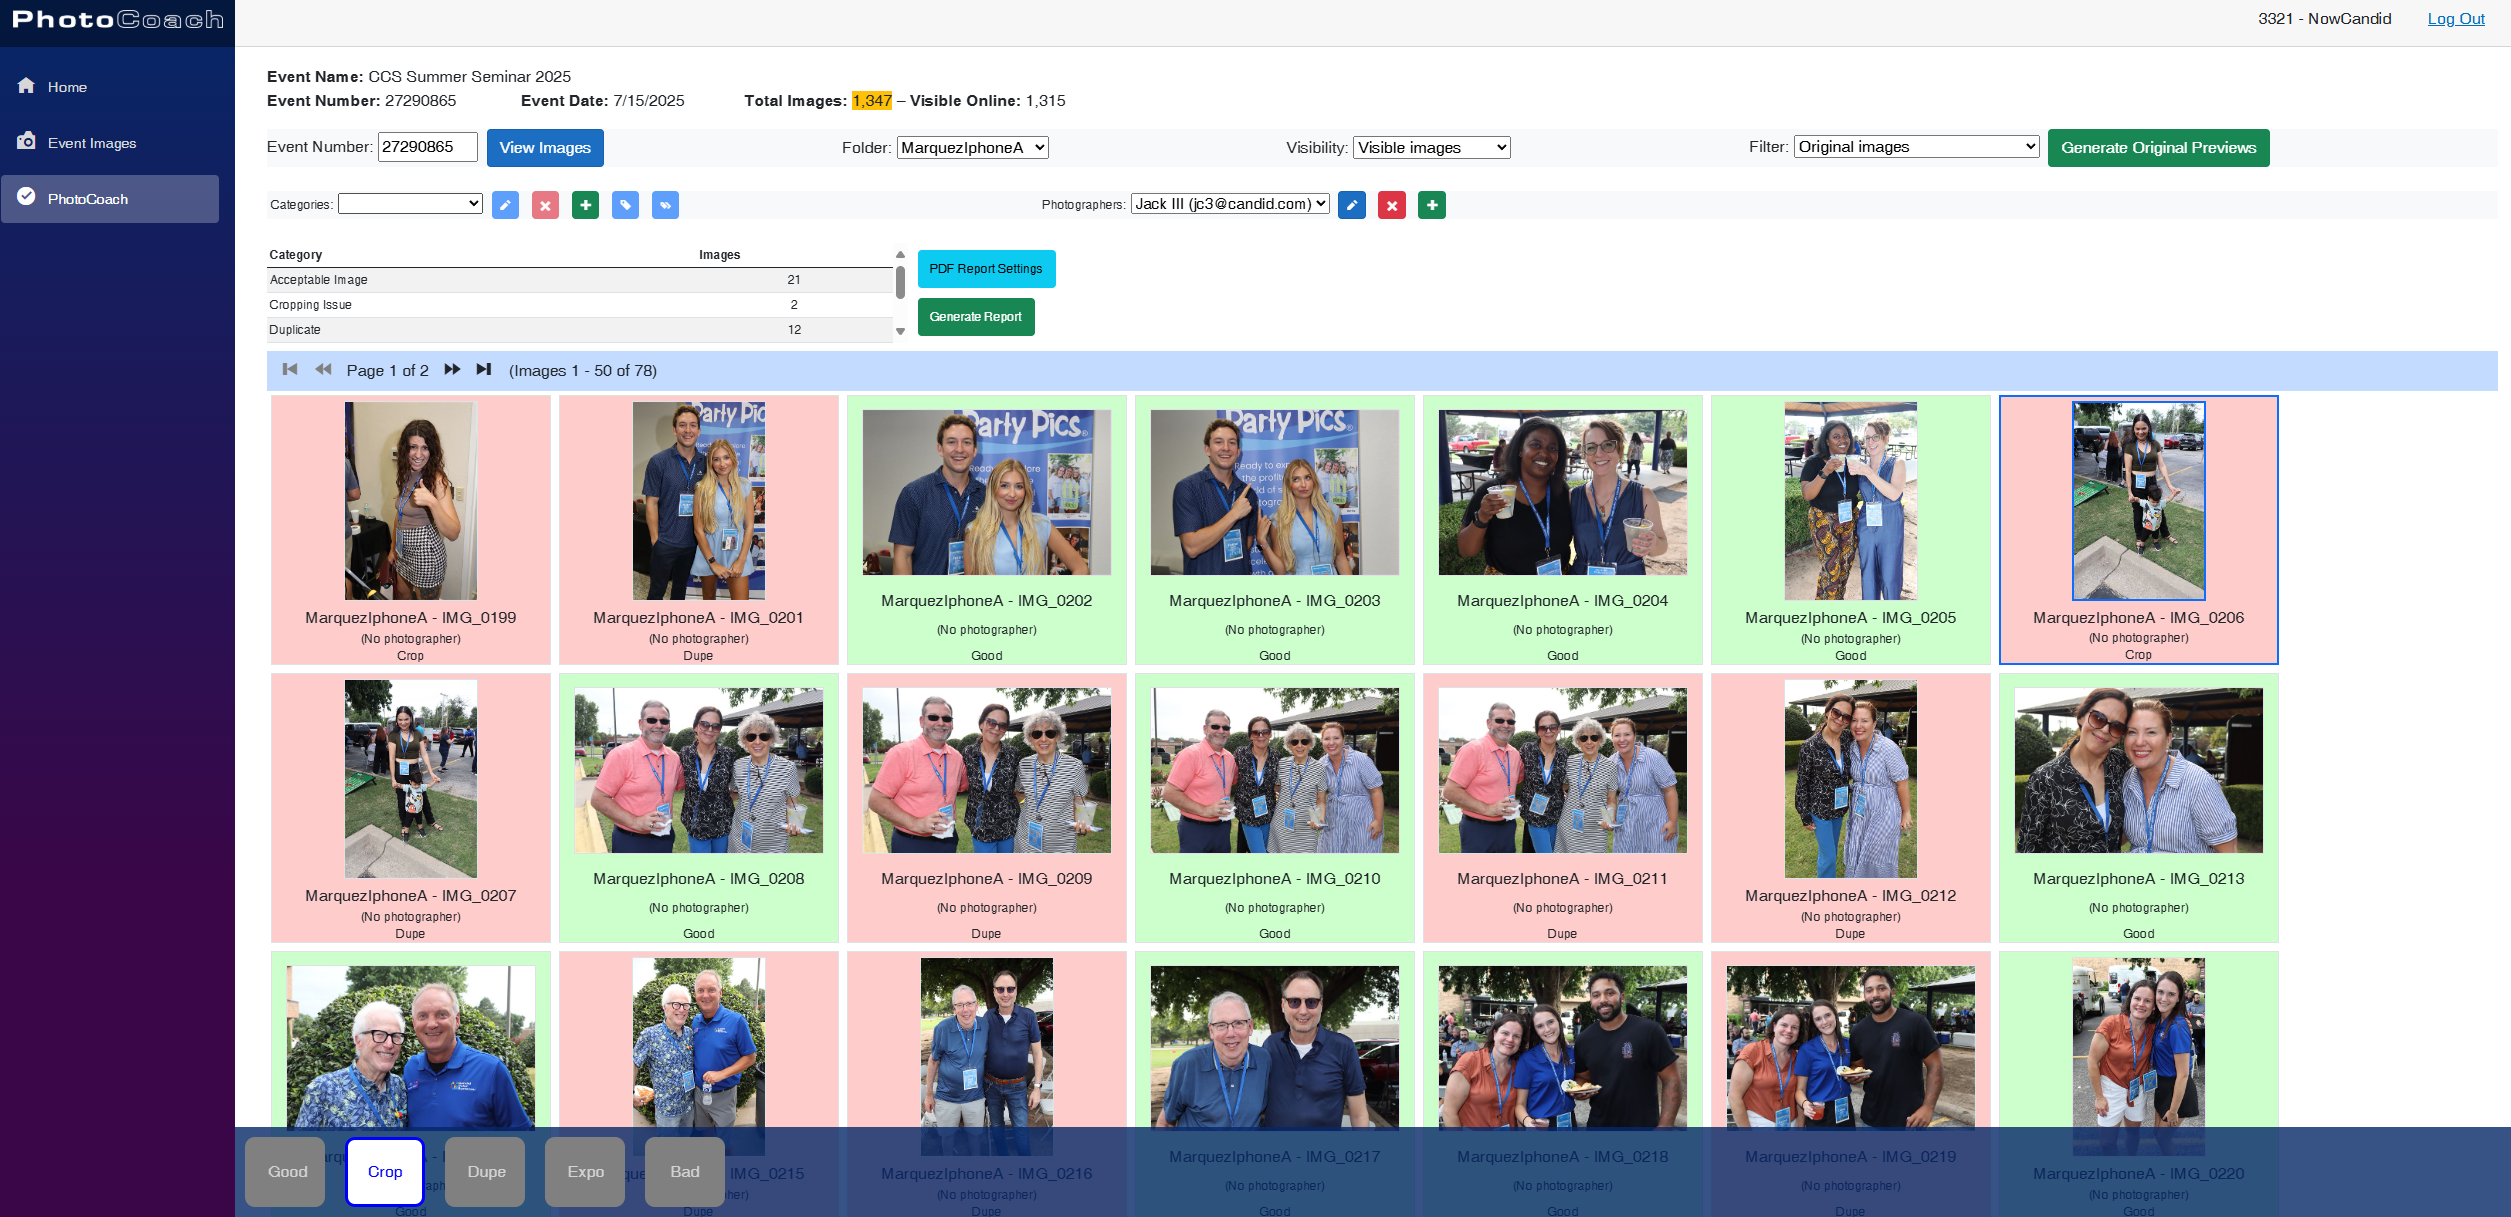
🆕 New Feature: PhotoCoach

Introducing PhotoCoach—your new secret weapon for improving the quality of your photographers’ photos over time! 🧠📷

With PhotoCoach, you can:

  • • Review images from your Events and flag them with issues like "Acceptable," “Duplicate,” “Exposure Issue,” “Cropping Issue” and more (and make your own categories too!)
  • • Track photographer photo quality over time
  • • Send automatic feedback reports to your photographers with a breakdown of image counts & issue counts

It’s perfect for helping your team take more sellable images—leading to happier clients and stronger sales!

Find it now under Tools & More on your Dashboard and start coaching like a pro. 💪

Note: PhotoCoach is not new for CORE™ users (CORE™ is our sister-software at Candid Color Systems™), but it's new to NowCandid™! And it's had some feature improvements recently so it is now web-based! Woo!

It takes a little getting used to, but once you are, it's super easy and super fun!

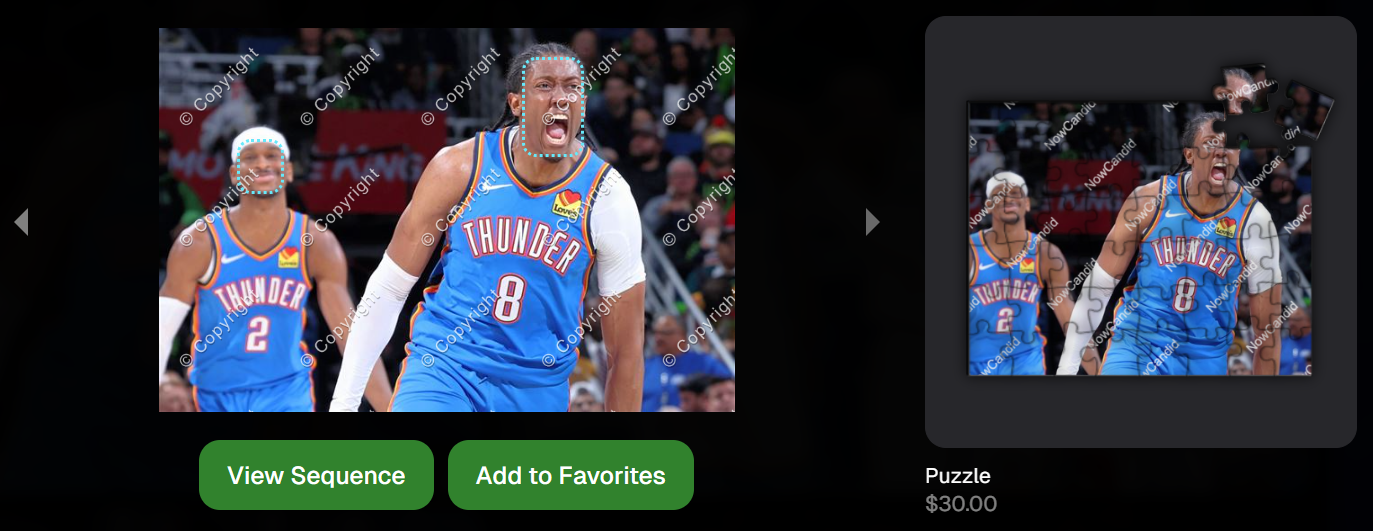
🧩 NEW: 8×10 Acrylic-Backed Puzzle

Puzzle fans, rejoice! 🎉 You can now sell a 56-piece acrylic-backed 8×10 puzzle, complete with cute live-rendered previews on the retail site.

Why customers will love it:

  • Unique gift or keepsake
  • Durable acrylic & display-worthy

Even the little detahced pieces in the top right live-render, yay! - Theme: Liquorice

🔗 URL Filtering Just Got Smarter

Now when shoppers apply filters on the retail site, those filters update the URL automatically—making filtered views shareable with friends & family!

Not much more to say about this one, just a cool touch! :)

🛠️ Misc Tweaks & Fixes

A roundup of small but mighty changes:

  • 📥 Dynamic Personal Gallery Downloads can now be purchased by shoppers via Favorites!
    • A great addition for action sports—gives customers a “buy all” option that scales with the number of images selected, even when shopping from an All Gallery.
  • 🧑‍🤝‍🧑 Group-by-Face filter popup now shows only unique faces
    • Applies to new Events only—re-run Group-by-Face on past Events if needed!
  • 🗂 BGR Folders are editable again via the “Edit Folder” option
  • 🖼 Retail site now scrolls past the cover photo if a filter is selected from the initial popup
    • A smoother experience when arriving to an All Images gallery
  • 🧍‍♀️ Selfie Check-In button transforms post-Face Matching
    • It now becomes a second Retail Site button after expiration
  • 🧾 Invoice History tool now displays all past invoices, not just recent ones

That’s everything for this week! 💫

Whether you're giving photo feedback, selling puzzles, or just tidying up your workflow—we’ve got your back.

More soon!
Candy 🍬

Let’s get in touch

If you’re a photographer looking to add NowCandid™ services to your wheelhouse, set up a call with us!

How to customize formatting for each rich text

How to customize formatting for each rich text

How to customize formatting for each rich text

How to customize formatting for each rich text

How to customize formatting for each rich text

What’s a Rich Text element?

The rich text element allows you to create and format headings, paragraphs, blockquotes, images, and video all in one place instead of having to add and format them individually. Just double-click and easily create content.

A rich text element can be used with static or dynamic content. For static content, just drop it into any page and begin editing. For dynamic content, add a rich text field to any collection and then connect a rich text element to that field in the settings panel. Voila!

Headings, paragraphs, blockquotes, figures, images, and figure captions can all be styled after a class is added to the rich text element using the "When inside of" nested selector system.

  • List One
  • List Two
  • List Three
  • List Four
  • List Five

This is a link

This is bold text