Candy here with this week’s updates. Highlights include two new panoramic print products, a bunch of Manage Images + Candy Culler usability wins, and retail checkout + link preview improvements.
Let’s jump in!
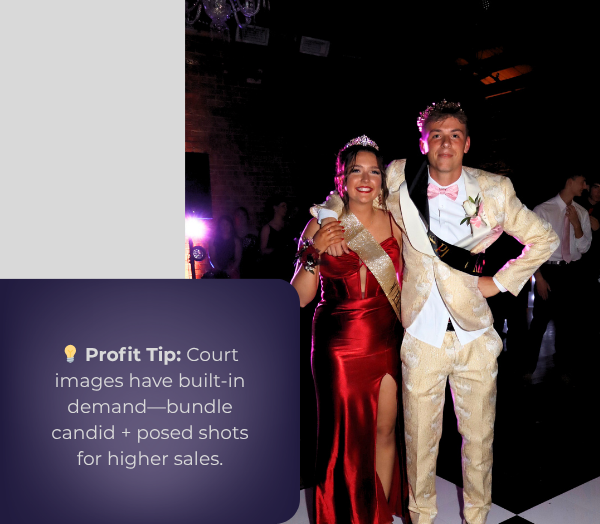
🆕 New Products: Panoramic Prints (Group-Only)
🖼️ 15×5 Panoramic Print (Group-only)
🖼️ 30×10 Panoramic Print (Group-only)
These are available across both Dashboard + Retail.
Reminders:
When you flag photos as Group Photos, they will become purchasable on Group products only IF you have Group Products in your Event's Offer.
If there are NOT Group Products in your Event's Offer, then images marked as Group Photos will be purchasable on any product (including downloads).
Previously it only appeared after an event had at least one image.
🌾 Candy Culler icon updated (axe → scythe)
👁️ Visibility toggle added right on the Cull page
Toggle visibility from the top-right of the image without opening the lightbox.
📦 Download Folder improves naming
Downloads now default to the folder name for the ZIP file, and you can choose where to save or rename it.
⌨️ CTRL/CMD+F supported on the Event PhotoTags page
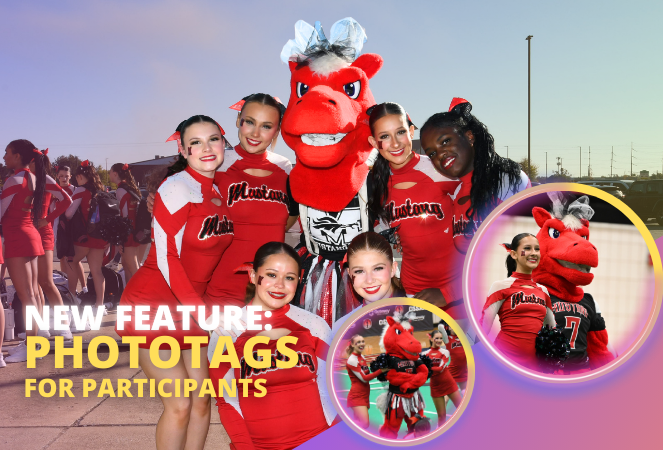
🧑🤝🧑 Rosters, PhotoTags & Participant Fixes
🏷️ Roster upload now accepts “PhotoTags” column header
Previously only accepted “PhotoTag”.
🧩 PhotoTag filtering fixed on Participant List + Participant Details
Especially in edge cases where a later-merged record had the PhotoTag but the initial record didn’t.
📇 PhotoRoster Data Upload now supports 3 Additional Contacts (up from 2)
🧾 Image Release Gallery fixes
Face count edge cases resolved (duplicates/additional contacts/duplicate submissions)
Program filter fixed
🛍️ Retail: Checkout & Sharing Improvements
🧾 Improved checkout backend
Includes protections to reduce the edge case of double charges during backend disruptions.
🔗 Link previews fixed for non-QuicPics events
Previews should reliably appear in apps like iMessage and Discord.
If a retail hero exists, it’s used
Otherwise, the first relevant gallery image is used
🛡️ GalleryGuard enabled when watermark opacity is 0%
For events where the retail watermark setting is set to 0% opacity, GalleryGuard™ will still protect images. (Still disabled for Quic-type events.)
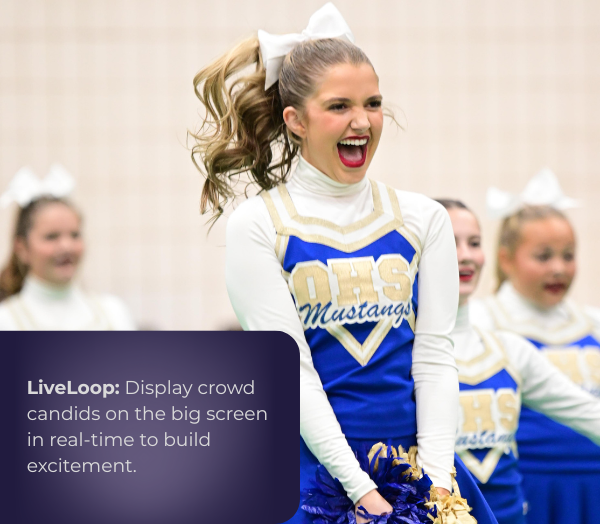
🌀 LiveLoop™ Fixes
🧠 Fixed out-of-memory crashing sometimes for LiveLoops with artwork renders
🖼️ Fixed artwork sometimes disappearing after LiveLoop™ runs for a long time
⚡ Performance & UI Fixes (Small but Helpful)
🚀 Offer list + Event Details load a bit faster
👤 Some profile actions are faster (passcode changes, retail settings, account data used by PhotoCoach / PortraitPress popups)
🧩 Fixed some Participant Details pages not loading
🖼️ Fixed Manage Images lightbox details getting out of sync when using arrow keys
🧷 Fixed Manage Images scrolling to the top when toggling visibility
🔑 Fixed Forgot Password page not sending email
📦 Offer Creator: New “À La Carte” Package Breakdown
🧮 New “À La Carte” section inside packages shows:
Individual item costs (if each package item is present in the offer as an individual product)
The package discount a shopper is getting (shows 0% if discount would be negative)
Note / Feature-Preview: In the near future, this will also be expanded to better highlight savings on packages on the retail site to your customers, automatically!
✅ Misc + Check-In Improvement
💬 Text campaigns weekend test: recurring (non-day-0) texts will now place the retail link at the very end to encourage link previews.
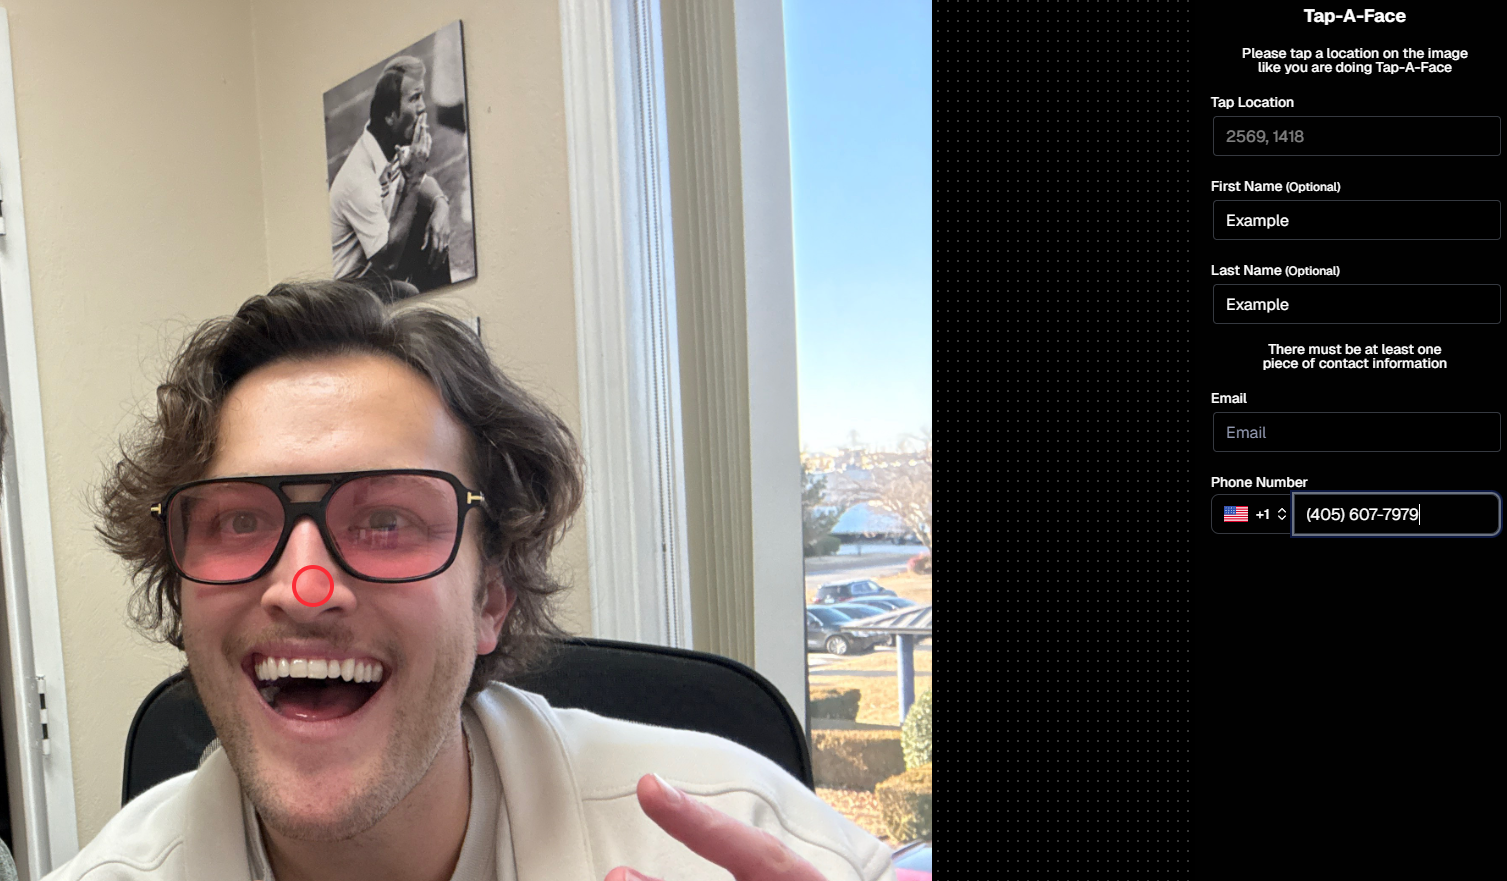
🤳 Selfie Check-In reliability improvements
That’s the week!
New panoramic prints, smoother culling, better retail reliability, and a bunch of cleanup that should make day-to-day usage feel tighter.
Candy here, bringing you another Weekly Recap packed with fresh features and improvements to your NowCandid™ experience. Let’s dive right in!
1. Introducing QuicPortraits™ 📸
We’re thrilled to add a new Program to our lineup—QuicPortraits™—joining PartyPics™, GradPics™, Portraits, SportsPics™, QuicPics™, and QuicPics GO™:
• One-Time Text Limit: Each image can only be texted out once—perfect for headshots or single-family portraits where you only need to share each image a single time.
• Why?: Because of this limit, QuicPortraits™ costs less to use than QuicPics™. It’s a budget-friendly version of the same great service designed specifically for portrait & headshot photography.
• No Extra Setup: If you already know how QuicPics™ works, you’ll feel right at home with QuicPortraits™!
A new Quic-Program, with different functionality and pricing!
2. QuicPortraits™ & QuicPics™ Feature Additions 🤳
These upgrades apply to Quic-Events created AFTER today’s system deployment (March 1st):
• “Images Are Arriving Soon” Records: View text records in your event’s Marketing History page.
• Render Previews for Texted-Out Images: Know exactly when and to whom each image was sent—complete with a small preview.
• Unsubscribe Keyword “NOPE”: “Images Are Arriving Soon” texts use “NOPE” for event-based unsubscribes, aligning with other NowCandid™ marketing.
• Future Integrations: Under-the-hood improvements now let us potentially add advanced NowCandid™ features (like background removal) to QuicPics™ down the road!
• No App Update Required: Older Capture & Upload App versions can handle QuicPortraits™; they just won’t display its icon. For the icon, see iOS version 4.13.72 below.
And good news for existing QuicPics™ fans—our behind-the-scenes tweaks should speed up QuicPics™ deliveries even more!
For when you're curious, or need some help checking on a customer's images!
3. Capture & Upload App for iOS (4.13.72) 🍎
We’ve rolled out Version 4.13.72 with the following fixes and updates:
New Icon: You’ll now see a QuicPortraits™ icon (older app versions don’t show it, but will still function fine).
Photo Booth Mode:
• Added two new default backgrounds.
• Fixed old artwork sticking around when switching events.
• Corrected face tap location on custom background or filtered images.
• Fixed bug where filters sometimes failed to apply on uploaded images.
If you’re on iOS, make sure to update for the smoothest experience!
That’s it for this Weekly Recap, folks!
QuicPortraits™ adds a brand-new, simpler way to handle headshots and single-user portrait sessions, while QuicPics™ receives behind-the-scenes speed boosts and more detailed marketing records.
Next week’s recap might be even juicier—stay tuned!
Candy here, and I’m excited to bring you my top picks for iPad-only photo booths in 2025 — fresh from the Photo Booth Expo show floor. As you know, NowCandid’s Photo Booth Mode works seamlessly with Canon, Nikon, and Sony cameras. But if you’re looking to simplify your setup, these iPad-only booths are our top recommendations!
Why do we prefer iPad-only?
It’s all about scalability, convenience, and cost savings. While Windows is very customizable compared to Apple, that also opens up your software to various complications & interference from settings & applications across a Windows device. The streamlined software of Apple devices can help reduce those odd issues that pop up occasionally from event to event.
Below, you’ll find three stands we checked out this year, each with a Pros & Cons list and our more detailed “Our Take.” Let’s get to it! 🚀
• Includes frames for multiple iPad sizes (10.2'' 10.9'' 11'' 12.9'')
• Optional rolling case for an extra $100
Pros:
✅ Affordable — Perfect for those on a tighter budget
✅ Sturdy, good build quality despite the lower price point
✅ Attractive design with body lights + ring light
✅ Two remotes to control both the body lights & the ring light
✅ Ring light can change color tone (white, blue, yellow) + brightness
Cons:
❌ Too tall — even with tilt, shorter guests often appear low in the frame
❌ Not super portable — 10 screws for full assembly/disassembly, not counting iPad mounting
❌ Can’t keep iPad fully charged on max brightness; battery drain is slower but still present
❌ Spinning 360° head can get tilted off-center by guests too easily, unless tightened
❌ Carrying case is sub-par (handles sometimes broke off in our tests, no dedicated compartments for each piece)
Our Take
We call this booth the “Bargain Booth” for a reason. At just $549, it offers a really good bang for your buck, especially if you’re not overly concerned about having no-tools assembly or a perfect height. If you’re okay with its tall frame, you could mitigate set-up hassles by keeping it partially assembled and just transporting it in a larger vehicle.
However, the height might be an issue if your events often include younger kids or smaller adults — you’ll either have to tilt it downward a lot (which can distort the perspective) or place the booth next to a short platform for subjects to stand on, to raise them up a bit relative to the photo booth. Another minor inconvenience is that it won’t keep a 12.9-inch iPad Pro fully charged if you’re running maximum screen brightness (which you often do in well-lit or outdoor events). As a workaround, start the event with a fully charged iPad to ensure it lasts 10+ hours.
All in all, if budget is your top priority and you can accept the relatively tall design and some quirky portability issues, the Bargain Booth is a solid choice. We’ve used one ourselves throughout our trade show tour — it survived being shipped around on pallets across the country! That’s a good sign it’s built to last.
Image pulled from this booth's Amazon Store page, linked above
✅ Very professional, modern design (and easy to add vinyl wraps)
✅ Roamer mode — Detach the base plate for a handheld kiosk
✅ Easy "guided access" — Slot to let you press the iPad power button with a paperclip
✅ Cooling fans — Great for outdoor or long-lasting events
✅ 1-year warranty
✅ Comes with a compact rolling case that’s sturdy and well-organized
✅ Can keep an iPad fully charged with no battery drain issues
Cons:
❌ Expensive — $3,000 when not on sale
❌ Limited light control — Currently supports only an all-white ring lamp mode when used with NowCandid's Capture & Upload App
❌ No body lights (though custom vinyl wraps can spice it up)
❌ 11" iPad faceplate is an add-on ($49 extra)
Our Take
The Salsa 2 was one of the prettiest booths at Photo Booth Expo 2025. Yes, it’s significantly pricier than the Bargain Booth, but that extra cost gets you:
• Premium build & design: It looks sleek, modern, and instantly elevates any event space.
• Tool-free assembly: You can set it up in minutes, which is fantastic if you’re juggling multiple events or tight on time.
• Real portability: The included rolling case feels like well-designed luggage. It’s compact, highly protective, and easy to maneuver.
• No battery issues: Unlike cheaper stands, the Salsa 2’s internal wiring keeps your iPad at 100% charge, even at full brightness.
• Convenience features: Accessing the iPad’s power button through a tiny opening is genius — it makes entering Apple’s Guided Access mode a breeze.
• Cooling fans: If you’ve ever had an iPad overheat while guests queue up, you’ll understand just how valuable built-in cooling can be.
As for the lighting, we loved that the ring light is bright and consistent. However, it would be nice if it could sync or tie in with other software to do color changes, currently it is only available in a plain white “lamp mode” when used with NowCandid. That said, the ring light is extremely usable out of the box, and most guests will probably never be upset it’s just white.
Overall, the Salsa 2 is a fantastic investment if you want a booth that radiates professionalism, sets up easily, and doesn’t skimp on features like cooling or proper cable management. If you’re aiming to scale up your photo booth business and command a higher rate for a premium booth, Salsa 2 is definitely our top pick.
Image pulled from the Salsa 2's "Explore" page, linked above
3. The Helio Sport by ATA Photo Booths
Price: $1,449 (no case), $1,949 (with rolling case)
• Assembly is simpler than the Bargain Booth, but not as effortless as the Salsa 2
• Does not support the 12.9-inch iPad Pro (and requires you to pick a specific iPad size at purchase)
Pros:
✅ Reasonably priced for a mid-tier booth
✅ Solid build quality and sleek, minimal design
✅ No glaring flaws — a stable option that “just works”
✅ Vinyl wrapping is easy if you want to customize the look
Cons:
❌ Not very feature-rich — Lacks some extras like body lights
❌ Height not adjustable — Tilt-only design (however, it's a good height to begin with!)
❌ Comes with 1 iPad frame — You must choose the iPad size when ordering; and no 12.9" support
❌ Assembly takes more time than the Salsa 2 (though not as much as the Bargain Booth)
Our Take
If you’re seeking a middle ground between the cheapest and priciest booths, the Helio Sport can fit the bill. It doesn’t stand out with flashy body lights or a detachable "roaming booth" head, but it also doesn’t suffer from major flaws. Setup is fairly quick (somewhere between the Bargain Booth’s many screws and the Salsa 2’s tool-free approach). The price tag, around $1,449, places it well under the Salsa 2, but it’s still nearly three times more than the Bargain Booth.
For us, the biggest drawback is that it doesn’t support the 12.9-inch iPad Pro. That’s our favorite iPad size for photo booths, especially if you’re looking to have a large, vibrant display. So if you’re committed to using a bigger iPad, the Helio Sport might not be your best pick.
That said, if you already own a compatible iPad or you prefer something smaller (and you’re on a moderate budget), the Helio Sport remains a solid contender. It has a professional look, decent portability (especially if you spring for the rolling case), and a straightforward operation. It might lack the “wow” factor of the Salsa 2, but if you’re simply looking for a reliable iPad booth with minimal fuss, Helio Sport is a fine choice.
Image pulled from the Helio Sport's store page, linked above
Final Thoughts
In the world of iPad-only photo booths:
1. Bargain Booth (Marvel Tech) – Best Value
Great price, tall frame, some minor inconveniences (charging, height, and assembly). Very durable and surprisingly good build quality for the cost.
Premium design, tool-free assembly, built-in cooling, and straightforward iPad integration. More expensive but loaded with user-friendly features.
3. Helio Sport (ATA Photo Booths) – Honorable Mention
Middle-of-the-road price and features, but lacks support for the 12.9-inch iPad Pro. A decent option if you’re okay with a smaller iPad.
And no matter which booth you choose, remember to:
• Use a cellular-enabled iPad Pro for maximum flexibility.
• Get a high-quality screen protector for your device.
• Enable Guided Access (when able) to keep guests from exiting the Capture & Upload app and poking around in your iPad.
One Last Photo Booth Pro-Tip:
None of our recommendations today have glass screens to cover your iPad, as that tends to make tapping the screen inconsistent. Instead, head to Best Buy or a similar store and buy a protective screen for your iPad. They’ll even apply it for you bubble-free! Many screens have warranties as well, so you can replace them at no extra cost if they crack. This approach keeps your iPad screen protected from scratches while remaining responsive to your guests’ taps, making the experience better for everyone.
And if you have any questions about NowCandid’s Photo Booth Mode, or just want more tips on creating the ultimate interactive photo experience, drop us a line on our Calendly! We’re always here to help.
The rich text element allows you to create and format headings, paragraphs, blockquotes, images, and video all in one place instead of having to add and format them individually. Just double-click and easily create content.
A rich text element can be used with static or dynamic content. For static content, just drop it into any page and begin editing. For dynamic content, add a rich text field to any collection and then connect a rich text element to that field in the settings panel. Voila!
Headings, paragraphs, blockquotes, figures, images, and figure captions can all be styled after a class is added to the rich text element using the "When inside of" nested selector system.