HomeNavigation arrowBlogNavigation arrow
Current page
Feature Updates

📸 Candy’s 12 Days of Christmas: Day 12 – Photo Booth Mode! 🎄🎉

📸 Candy’s 12 Days of Christmas: Day 12 – Photo Booth Mode! 🎄🎉
Hello, my festive photographers!

Candy here, and Merry Christmas to those who celebrate.

We’ve arrived at the 12th Day of Christmas, and I’m thrilled to unwrap our biggest new feature of 2024—Photo Booth Mode in the Capture & Upload App!

The new NowCandid Capture & Upload App Version that includes Photo Booth Mode will be going live at the end of December,... this very month!

Let’s get into the holiday spirit and explore everything this mode has to offer. 🎁

What Is Photo Booth Mode? 🤶

Photo Booth Mode is a brand-new option inside our Capture & Upload App—you’ll see a shiny new “Photo Booth” button once you log in to an Event and create a Folder (after the update of course).

Give that Photo Booth button a tap, and voilà: your iPad turns into a photo booth station where guests can snap fun pictures with minimal hassle!

  • Multiple Camera Options: Tether a Nikon, Sony, or Canon camera, or use your iPad’s front-facing camera, depending on your particular photo booth setup.
  • Solid Internet Connection Required: The app downloads any custom overlays or backgrounds you’ve set on the web dashboard, and live-uploading images of course requires an internet connection, so stable Wi-Fi or LTE is essential!

It’s perfect for holiday parties, corporate shindigs, weddings, or any event where a lighthearted photo booth can bring on the smiles!

The Photo Booth Flow ⏱️

Here’s how Photo Booth Mode keeps your guests engaged:

  1. Tap to Begin Screen: A dimmed live view awaits guests to tap and start. Once they do, the booth will let them know to get ready for three photos.
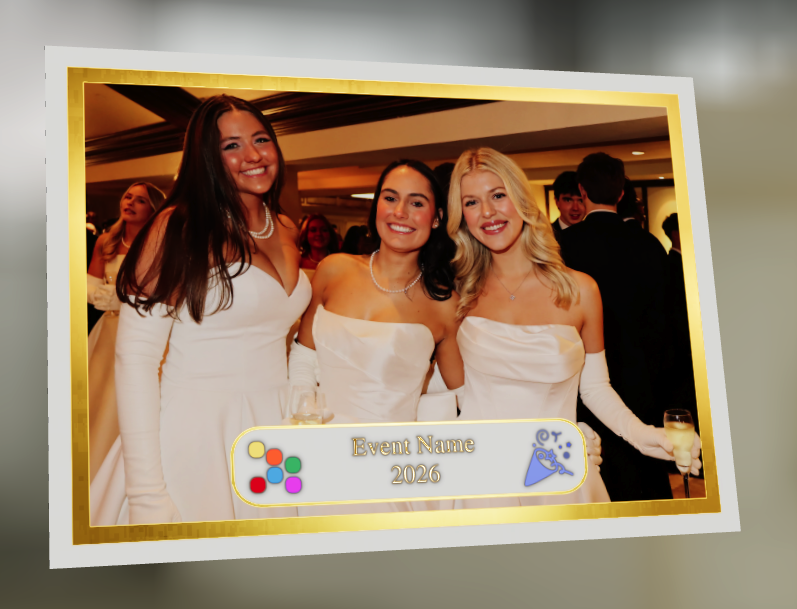
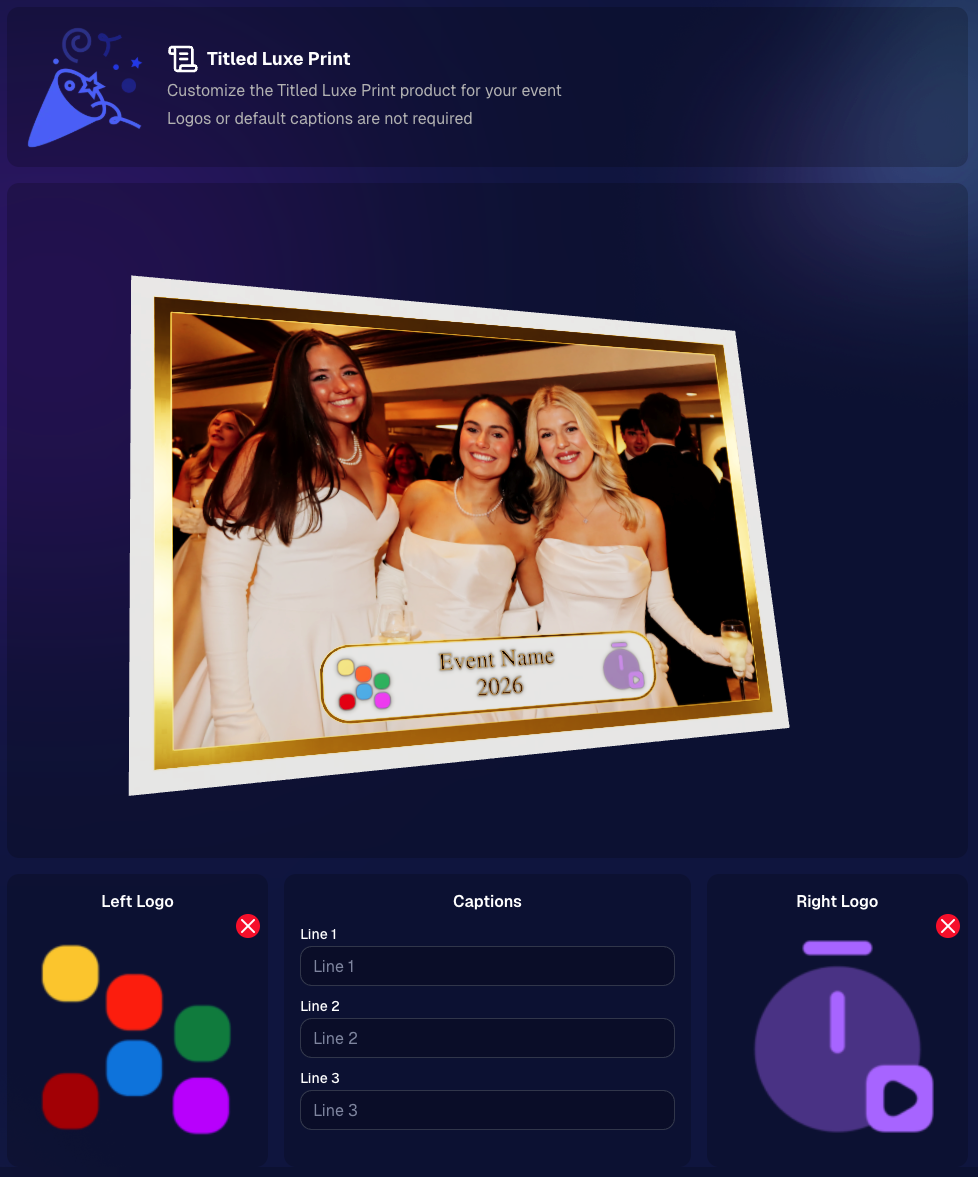
  2. Three Countdown Shots: Each shot has a 3-second countdown followed by a short preview of the taken pic after each shot. If your event uses a Bottom Banner Overlay or Full Frame Overlay, it shows up in the live view, so no one ends up hidden behind the graphics!
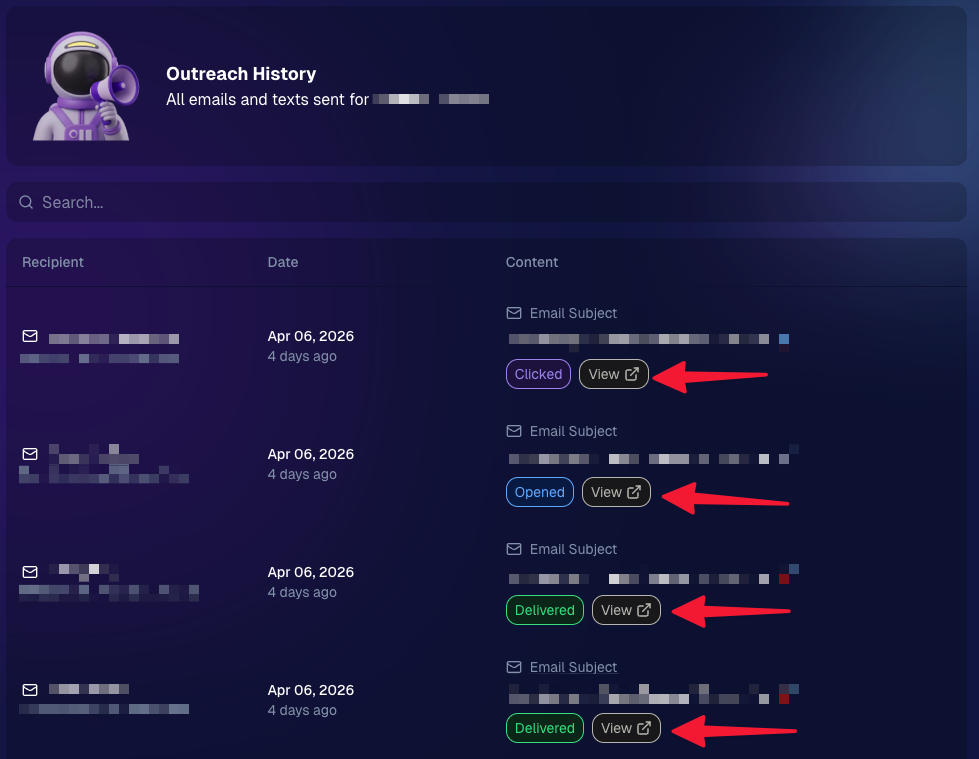
  3. Instant Delivery & Overlays: In Events using the QuicPics Program, each photo is sent via MMS with the overlay art included! And with every NowCandid Program, a gallery link is delivered where retail site users can download images and order photo products.

Guests can hop in, pose, and receive fun, branded photos—no fuss required! 🎉

On-Device Backgrounds & Filters 🎨

Before finalizing those memorable pics, guests can personalize them right on the device:

  • Background Selection: If you’ve uploaded custom backgrounds on the web dashboard, the app fetches them before the booth session. Guests can pick from these in addition to several default backgrounds, great for holiday vibes or brand-specific themes.
  • Filter Options: Classic filters like Noir, Sepia, Clarendon, and others let participants get creative.
  • Reshoot Button: Not happy with the shot? Guests can “Reshoot” and start the session over at any time.

This ensures a lively, interactive experience that encourages guests to come back for more snaps. ⛄

Positive ID vs. Face Matching 🧐

After styling, the next step depends on your event’s workflow:

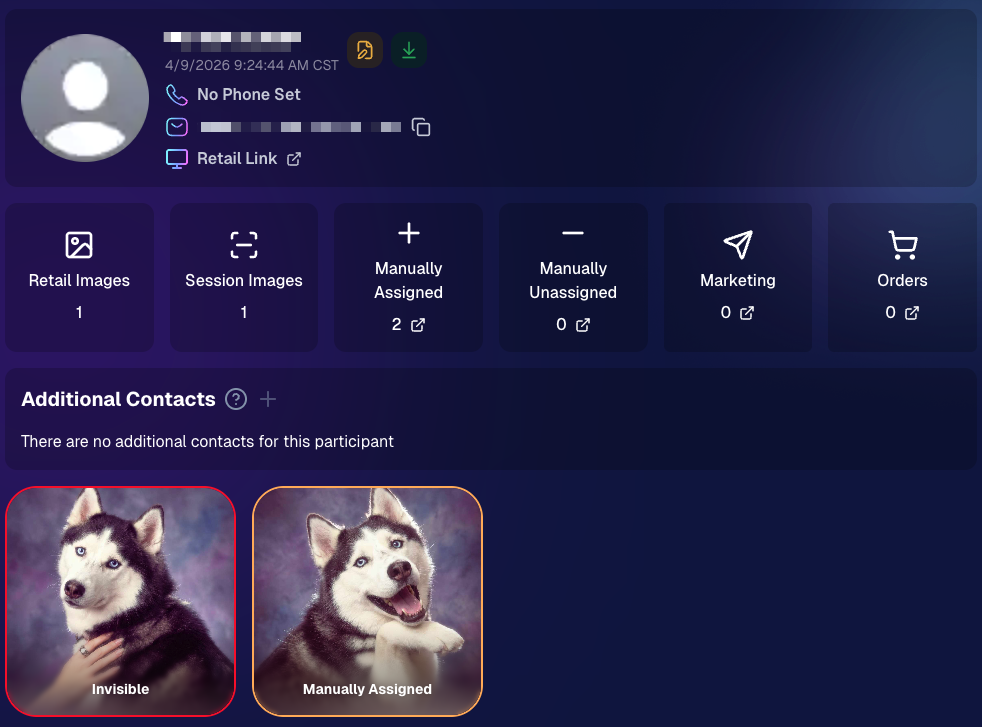
  • For Face Matching Events: Guests are guided to tap the faces they see on-screen, and then can enter contact info for each face! If this is their first or only reference photo for the Event, it will also match them to shots taken outside the Photo Booth!
  • For Positive ID Events: A simpler approach: participants just type in their contact info and send off the images! Easy peasy.

Either way, photos head straight to their phones via QuicPics (if you’re using that Program) and will always land in their personal gallery. 🔔

Seamless Integration with NowCandid 💖

Photo Booth Mode plugs right into your existing NowCandid features:

  • Selfie Check-In & LiveLoop: Photo booth images appear in your LiveLoop feed if you’re displaying one at the event. Selfie Check-Ins can still match participants to their booth photos too if they don't self-identify during their photo booth session!
  • QuicPics & PartyPics: The images upload instantly, letting your guests receive them right away via MMS (with QuicPics), or find them in their personal gallery for easy purchase or free download (with every Program).

It’s the same NowCandid ecosystem you know—just dressed up in a festive booth format! 🎄

Requirements & Limitations 🎅

A few notes to keep in mind:

  • Camera Orientation:
    • Nikon supports horizontal and vertical live view.
    • Sony/Canon currently only support horizontal orientation for tethered cameras.
  • iPad-Only for Now:
    • Photo Booth Mode works on iPad in vertical orientation, not on iPhone or Windows.
  • No Built-In Printing:
    • If you need on-site prints, consider setting up your own print station with a computer and a printer! Use quic.pics/portal to access your Event images, and then download images with or without overlays to print them on-site.
  • We Value Feedback:
    • Missing something? Let us know! Your input shapes our next updates.

Why Photo Booth Mode Is a Holiday Treat 🎁

  • Interactive & Fun: Guests love choosing backgrounds, filters, and overlays, making the booth a memorable attraction.
  • Fully Integrated: Works seamlessly with QuicPics, PartyPics, LiveLoop, Face Matching, and more.
  • Revenue & Engagement Boost: Branded overlays, holiday backgrounds, or sponsor tie-ins can lead to higher sales and delighted clients.

This mode is a surefire way to add a dash of cheer to any event—holiday-themed or otherwise! ✨

That’s all for now, folks.

We hope Photo Booth Mode adds a dash of magic to your season and beyond.

And thank you for following along with our 12 Days of Christmas!

Enjoy this new feature, and as always, keep capturing the moments that matter most.

Reminder: The new NowCandid Capture & Upload App Version that includes Photo Booth Mode will be going live at the end of December, this month!

Candy 🍬

Related articles

Weekly Recap: Profile Logos, Faster Packages, and a Revamped Event Management Portal
Feature Updates
April 17, 2026

Weekly Recap: Profile Logos, Faster Packages, and a Revamped Event Management Portal

5
 minutes read

Hey photo friends! 👋

This week’s updates are all about cleaner branding, smoother selling, and better visibility across your workflows—from a new profile/business logo system to big package configurator performance improvements, plus a long-awaited refresh of the Event Management Portal (EMP) ahead of grad season.

Let’s jump in. 💫

🖥️ Dashboard Updates

📣 Client Outreach: Texts now require a URL

Client Outreach SMS messages now require a URL to be included—helping ensure every text has a clear destination and call-to-action.

🧾 Reports: “Participants” terminology restored for accuracy

The Events Report, Compare Report, and Faces Report now use Participants instead of Contacts.
Reminder: a Contact is someone with info; a Participant is a contact with at least one image in their gallery. This avoids deflating stats with unmarketable contacts.

🧰 Candy Culler usability win

  • Added a Download Image button to the Image Details lightbox on the Candy Culler page.

🖼️ Better controls in Participant lightboxes

  • Added a visibility toggle to the Image Details lightbox on the Participant Details page.

🔍 New Event List filters

The Event List page now includes quick filters for:

  • Background Removal events
  • JerseyJotter events
  • Candy Culler events

🖼️ Offer background minimum lowered

You can now set your Offer background selection minimum to 5 (previously 20).

🚚 New flat-rate shipping option

Added $2.50 flat-rate shipping as an available shipping option.

📱 Mobile Dashboard

  • Fixed an issue where Friday weekly sales notifications were not sending.

🏷️ New: Profile / Business Logos (Branding Upgrade)

You can now assign a business/profile logo—upload to your profile icon on the dashboard as a 650×650 image and automatically cropped to a circle.

Where it appears:

  • Dashboard profile page + navigation
  • Retail contact popup above your business name
  • Receipt emails, web receipt preview, and the web receipt download page
  • Event Management Portal (EMP) header beside your business name
  • Private Image Download Gallery (PIDG) header
  • Public Event Tag List page header

More placements are planned in the future—this is the first step toward a more consistent, professional brand presence everywhere your customers interact with you.

🏷️ Event Tag List Page

  • Improved UI for a cleaner, easier experience.

🔒 Private Image Download Gallery (PIDG)

  • Improved UI
  • Added a note to the landing popup regarding released images

🛍️ Retail Improvements (Big Week for Packages + Rendering)

🖼️ Captions render earlier for key products

Graduation Plaque and Titled Luxe Prints now render custom captions earlier in the process, rather than waiting until the captions step.

📦 Package configurator upgrades

The package configurator received several improvements:

  • Added pagination to the All Gallery tab in the “Next Package Item Image Picker” step
  • Added a “Discard package progress?” popup when backing out after configuring at least one item to prevent accidental loss of progress
  • Fixed an edge-case crash on mobile when configuring large packages in offers with 3D items
  • Overall package configurating is now much more performant

🧩 Z-Crop improvements

Several improvements were made to ZCrop images to improve behavior and consistency.

🏷️ Group photo refresh fix

Fixed user-added dynamic gallery group photos showing as not group after refresh.

🎨 Background order consistency

Custom offer background order now matches the order in the offer details editor—drag and drop reordering on the dashboard offer editor.

📸 Capture App (iOS & Android OTA): 5.4.3 + 5.4.4

  • 5.4.3: Fixed a crash when toggling a Group Photo without any service
  • 5.4.4: Fixed a keypad popup issue on very large screens (like 13” iPad) where opt-in/cancel buttons were being cropped out

🧾 Event Management Portal (EMP) — Major Refresh (quic.pics/portal)

Quick reminder: the Event Management Portal (EMP) is a mini-dashboard on quic.pics that uses the Capture App login—so you can do “dashboard-like” tasks without downloading an app or using a full account login. It hasn’t been talked about much lately, but this week it got a big refresh in preparation for grad season.

What’s new:

  • Improved security
  • Tons of UI changes and a new dark-only theme
  • Event list page now includes a search bar
  • Event list page updated to “Live on Capture App” (instead of “Active”)
  • Event list page shows attributes like the main Dashboard + adds an Event Number column
  • Header now shows business name and logo
  • Fixed a crash on the Marketing History page
  • Added text/email filter on Marketing History
  • Images now use lightboxes with arrow key navigation
  • Participant Details now shows Additional Contacts
  • Participant Details now shows Invisible images

That’s the week! 💫

Between profile/business logos, a smoother package configurator, better report accuracy, and the EMP glow-up for grad season, this update should help you move faster, look more professional, and reduce friction across the whole customer experience.

Keep creating magic,
— The NowCandid Team 🍬

Weekly Recap: Titled Luxe Prints, Zoom Cropping, and Candy Image Studio “From Scratch”
Feature Updates
April 10, 2026

Weekly Recap: Titled Luxe Prints, Zoom Cropping, and Candy Image Studio “From Scratch”

5
 minutes read
Hey photo friends! 👋

This week’s updates are a fun mix of new products, new visual workflows, and small-but-important fixes that make day-to-day work smoother—especially across Candy Image Studio, retail packages, and PhotoRoster/PhotoTag downloads.

Let’s jump in. ✨

📣 Dashboard: Client Outreach + Workflow Quality-of-Life

Client Outreach email history is easier to use and more reliable:

  • Added a “View” button in Client Outreach email history so you can open the sent email in a new tab (similar to how order receipts work).
  • Fixed an issue where email status didn’t always show for all emails in the status list.

More clarity when reviewing participant galleries:

  • The Participant Details page now shows invisible images, clearly marked in red with an “Invisible” label—so you can understand what’s hidden without guessing.

PhotoTag participant gallery downloads got safer:

  • Fixed PhotoTag participant gallery downloads overwriting images when multiple files shared the same frame.
  • Fixed the download count displayed on the download button being off.

🎨 Candy Image Studio: Create Without an Input + A New Node

Candy Image Studio has two notable upgrades this week:

🧠 No input image required (generate from scratch!)
Candy Image Studio no longer requires an input image to get started. You can generate from scratch using the “From Scratch” node (at the very bottom), or by starting from custom text or a custom image—great for things like creating portrait backgrounds or creative assets.

🆕 New “Bobblehead” node
A brand-new Bobblehead node is now available inside Candy Image Studio.

Disclaimer: This is not a new product. This is an image node in the Candy Image Studio.

🏈 Jersey Jotter + Event Settings Cleanup

Jersey Jotter settings were removed from the Create/Edit Event popup.
Since Jersey Jotter now has its own dedicated page, we pulled those settings out of the event popups to keep Create Event as minimal (and fast) as possible—and keep Edit Event aligned with Create.

New: “Auto Enhance” can be turned off in Create/Edit Event.
Important clarity here:

  • Auto Enhance isn’t new — it has always been enabled by default.
  • What’s new is the ability to turn it off from the Create/Edit Event popup.
  • It’s labeled “Auto Enhance” (not “Retail Enhancement”) because it affects more than retail, including things like LiveLoop, Dashboard previews, Shareable Download Gallery, and more.
  • Note: this setting only impacts images uploaded after you change it. (So anything already uploaded keeps whatever enhancement state it had at upload time.)

🛍️ Retail: Package Backgrounds + Fixes

A few retail improvements landed to reduce confusing edge cases:

  • When selecting a PNG (without a faux background render) during the “Next Package Item Image Picker” step, the chosen background will now default to the first background in the background picker list (instead of the purple default).
  • Fixed an issue where the background selector step didn’t always appear for non-faux BGR images.
  • Fixed a crash related to having Wall Clings in packages.
  • Updated the Free Download description to: “Free simple, full-resolution download of your image.” (Previously it implied lower resolution.)

🔍 NEW: Zoom Cropping “Z-Cropping” (Dashboard + Retail)

In Advanced Offer Settings, you can now enable Zoom Cropping, which automatically adds an additional image into the customer’s gallery that is zoom-cropped toward their face.

Details & rules:

  • ✅ Works on Face Matching Events
  • ✅ Works only on images with one face
  • ✅ All default graduation offers/price levels now have Zoom Cropping enabled
  • Behind the scenes, it applies a ~30% zoom toward the face, with an additional ~30% pull from the center of the image toward the face (clamped to avoid cropping beyond image bounds)

This is a great “quiet upgrade” for grads and portrait-style moments where customers love a tighter crop—without you needing to manually create it.

🖼️ New Products: Titled Luxe Prints (Dashboard + Retail)

Two new products just landed:

  • 5×7 Titled Luxe Print
  • 8×10 Titled Luxe Print

Want to see the 3D preview?
https://app.nowcandid.com/3d/titled-luxe-print

New: “Edit Titled Luxe Print” Page (per event)
There’s a new event-level page available in the Dashboard sidebar only if one of the new titled products is included in the event’s offer. From there, you can:

  • Set default captions
  • Select left/right logos
  • Preview the 3D render
  • (Easter egg: rotate the render and you can spot your business name on the backprinting.)

Notes:

  • Default captions and logos are optional
  • Retail shoppers can change captions when ordering
  • Logo requirements: upload/import a 650×650 transparent PNG
  • Retail supports both 2D + 3D renders, including your custom logos
  • Order Details pages now display the selected logos, similar to how we show captions and colors

That’s the week! 💫

Between Zoom Cropping, Titled Luxe Prints, and Candy Image Studio’s new From Scratch flow (plus a pile of cleanup across retail + downloads), this update adds a lot of power without adding extra complexity.

Keep creating magic,
— Candy 🍬

Big News: Introducing Client Outreach 🚀📣
Feature Updates
April 3, 2026

Big News: Introducing Client Outreach 🚀📣

6
 minutes read
Hey photo friends! 👋

This is a big one.

We’re excited to introduce Client Outreach — a brand-new tool that lets you reach your customers directly with one-off texts and emails, completely separate from your normal event marketing.

Whether you’re following up after an event, promoting future bookings, or nudging people who missed check-in… this gives you a simple, flexible way to stay connected.

Let’s break it down 👇

📣 What is Client Outreach?

Client Outreach lets you:

📩 Send one-off emails and texts

👥 Build contact lists from:

  • Existing events
  • Uploaded spreadsheets
  • Or both combined

🎯 Filter contacts based on:

  • Contacts with matched images
  • Contacts without matched images
  • Or everyone

This is not automated campaign messaging — it’s intentional, targeted outreach when you need it.

👥 Build Your Audience, Your Way

When creating an outreach list, you’ve got flexibility:

  • Pull contacts from one event, multiple events, or none
  • Upload your own spreadsheet of contacts
  • Combine both sources into one list

And when using events, you can choose:

  • Only people with images
  • Only people without images
  • Or everyone

That opens the door to some really useful workflows (more on that below 👀).

💬 SMS Outreach (Simple & Familiar)

Sending texts is designed to feel easy and familiar.

🧾 Uses a QuicPics-style editor + preview

✍️ Write your message and send to your list

🔗 Include links (galleries, check-in, etc.)

💸 Pricing:

$0.01 per segment, per text

A segment is roughly:

  • ~140 characters (standard text)
  • ~65 characters (if using emojis)

Longer messages may use multiple segments (typically 2–4).

📧 Email Outreach (Powered by Candy 🤖)

This is where things get really fun.

Instead of building emails manually…

👉 You just describe what you want, and Candy builds the email for you.

✨ How it works:

Tell Candy things like:

  • What the email should say
  • What tone you want (fun, professional, urgent, etc.)
  • What your call-to-action button should say
  • Where that button should link

Candy will:

✍️ Write the email

🎨 Design the layout

🧠 Generate a subject line

🏷️ Pull in your business info automatically

No HTML. No formatting headaches. Just describe it.

🧠 Even Smarter with Events

Every outreach must be tied to an event (for billing/history), but that unlocks some extra power:

If your outreach is related to that event, Candy can pull in things like:

🔗 Check-in links

🖼️ Cover photos

🖼️ Gallery links

And more!

👉 You can still override this and use your own URLs — Candy will follow your instructions.

📬 Sending Details

Emails are sent from:
your-business-name@quic.pics

Your business name is prominently shown in the inbox

You can edit the subject line Candy generates before sending

💸 Email Pricing

$0.01 per 10 emails (rounded up)

Examples:

  • 10 emails = $0.01
  • 11–19 emails = $0.02

🖼️ Bonus Tip: Include Images in Emails

If you have direct image URLs, you can give them to Candy and ask her to include them in the email.

Not sure how to get those? Google is your friend on this one 😄

📊 Track Performance

Just like order receipts, you can see:

👀 Opens

🖱️ Clicks

❌ Bounces

So you know what’s working.

💡 Real-World Use Cases

Here are just a few ideas:

📸 Catch Missed Check-Ins

Send a Selfie Check-In link after an event using a roster from a school or organizer.

📅 Promote Future Events

Reach past customers and say:
“Hey, we’re photographing again next week!”

🏈 Action Sports Galleries

Send All Images Gallery links when using Jersey Jotter (where face matching isn’t ideal).

🧑‍🤝‍🧑 New Group Photos Added

Let people know:
“Your group photos are now live!”

📝 Post-Event Surveys

Send feedback forms to improve your next event.

🔔 Picture Day Reminders

Get ahead of the event with reminders to increase participation.

And that’s just scratching the surface.

🎯 Simple, Flexible, Powerful

Client Outreach is designed to be:

✅ Easy to use

🎯 Highly targeted

🔄 Flexible for different workflows

💸 Cost-effective

You’re in control of when, who, and what you send.

This is one of those tools that grows with you — whether you’re running small events or large-scale operations.

We can’t wait to see how you use it! 👀

More soon,

Candy 🍬

Let’s get in touch

If you’re a photographer looking to add NowCandid services to your wheelhouse – set up a call by clicking the button below.

How to customize formatting for each rich text

How to customize formatting for each rich text

How to customize formatting for each rich text

How to customize formatting for each rich text

How to customize formatting for each rich text

What’s a Rich Text element?

The rich text element allows you to create and format headings, paragraphs, blockquotes, images, and video all in one place instead of having to add and format them individually. Just double-click and easily create content.

A rich text element can be used with static or dynamic content. For static content, just drop it into any page and begin editing. For dynamic content, add a rich text field to any collection and then connect a rich text element to that field in the settings panel. Voila!

Headings, paragraphs, blockquotes, figures, images, and figure captions can all be styled after a class is added to the rich text element using the "When inside of" nested selector system.

  • List One
  • List Two
  • List Three
  • List Four
  • List Five

This is a link

This is bold text